How to master fitting Gyproc Coving in six simple steps

Coving adds a stylish decorative touch to any room. Our quick guide offers tips on how to install coving to any room.
What is coving?
Coving comes in a range of styles from contemporary to traditional and is a decorative finish to the top of interior walls perfect for concealing cable runs and masking settlement cracks, and has a smooth finish that's ready for decoration
Traditionally coving is made of plaster, but many people opt for wood or polystyrene. Plaster coving requires less maintenance and is the most durable.
Gyproc coving
There are plenty of easy-to-cut and lightweight coving options designed in various lengths to suit your needs.
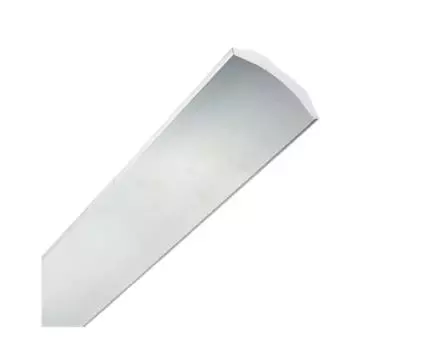
Gyproc Cove 100
Gyproc Cove 100 is a paper-faced plaster coving (100mm) in a 'C' profile adds a stylish decorative touch to any room. It's great for concealing cracks between walls and ceilings and cable runs and masking settlement cracks. It has a smooth finish that's ready for decoration. Gyproc Cove 100 comes in handy, room-sized lengths (carton of six) for fewer joints and a faster finish.

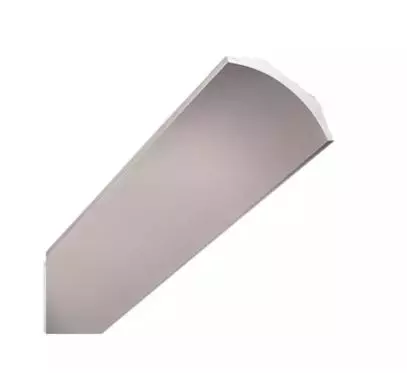
Gyproc Cove 127
Gyproc Cove 127 is a classic paper-faced plaster coving (127mm) in a 'C' profile is ideal for upgrading the design of larger rooms and rooms with higher ceilings. It cuts cleanly to size in straight lengths or angles making it stylish and a practical function. It comes in handy 3m lengths for fewer joints and a faster finish and has a strong protective ivory liner to make decoration easy.

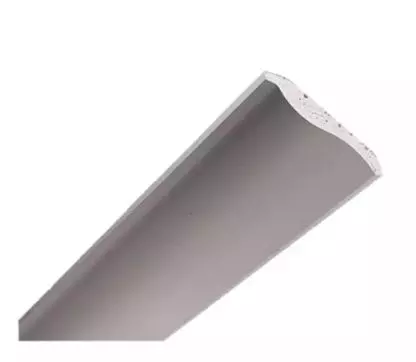
Gyproc Cornice 135
Gyproc Cornice 135 is an attractive and stylish 'S' profile deep cove moulding perfect for masking settlement cracks and concealing cables whilst creating a more distinctive style in any room. Long three metre lengths make installation easier with fewer joints, and its smooth white finish is great for decoration.

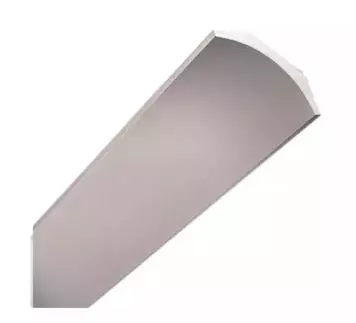
EasiFix Cove
EasiFix 100 and 127 Cove will help you create a smart, contemporary finish suitable for any room. Available in 2m lengths (singles or multi-packs) for easier installation.

How to install your coving
Ensure wall and ceiling backgrounds are sound, clean, and dry, removing any wallpaper before attempting to fix the cove.
For easier installation, draw guidelines along the wall and ceiling with a pencil at the appropriate distances. For Gyproc® Cove 100 lines should be drawn at 67mm down the wall and 67mm across the ceiling.
For Gyproc® Cove 127, lines should be drawn at 83mm down the wall and 83mm across the ceiling. For Gyproc® Cornice135, lines should be drawn at 84mm down the wall and 92mm across the ceiling.
Scratch plastered or painted areas which will be in contact with the cove to provide a key for the adhesive, and brush away any dust or loose material.
Cut the product to the required length using a cove mitre block and a fine tooth saw. EasiFix Universal Mitre Block is perfect for cutting 100mm and 127mm cove, and 135mm cornice. Gyproc® Cove Mitre Box is another alternative, which is compatible with Gyproc® Cove 100 and 127.
Pre-cut coving
If you’re looking for an even easier way to fit coving, a box of Artex Easifix Pre-Mitred Corners can take the hassle away. This comes in convenient pre-cut lengths of coving to make four corners in a room, removing the need to mitre.
Read our in-depth blog on how to cut coving
If you’re looking for an even easier way to fit coving, a box of Artex Easifix Pre-Mitred Corners can take the hassle away. This comes in convenient pre-cut lengths of coving to make four corners in a room, removing the need to mitre.
Read our in-depth blog on how to cut coving
To put up a section of coving, you'll need coving adhesive. Gyproc® Cove Adhesive is a powdered adhesive designed for trouble-free fixing for all Gyproc® Cove and Cornice products. It has fast grab properties that quickly fix coving to most surfaces. The superb adhesive strength holds plaster coving firm in place and eliminates snagging. It is quick and easy to decorate, and it dries to a white finish.
Using a trowel or scraper, spread the adhesive around the back edges of the coving. Push the section into place (any excess adhesive can easily be wiped off with a damp sponge). Ensure the entire length of the coving makes contact with the wall and ceiling.
When installing the cove lightly nail the line marked on the wall to provide temporary support to the profile until the adhesive has set. These nails can be removed later once the adhesive is set.
Last but by no means least, go around the room filling any gaps with Gyproc® EasiFiller. Leave to dry, then sand joints and corners lightly using fine sandpaper (150 grit or higher).
Check out the Artex Trade Catalogue 2023 for the full range of coving products. Where to buy Artex and Gyproc products